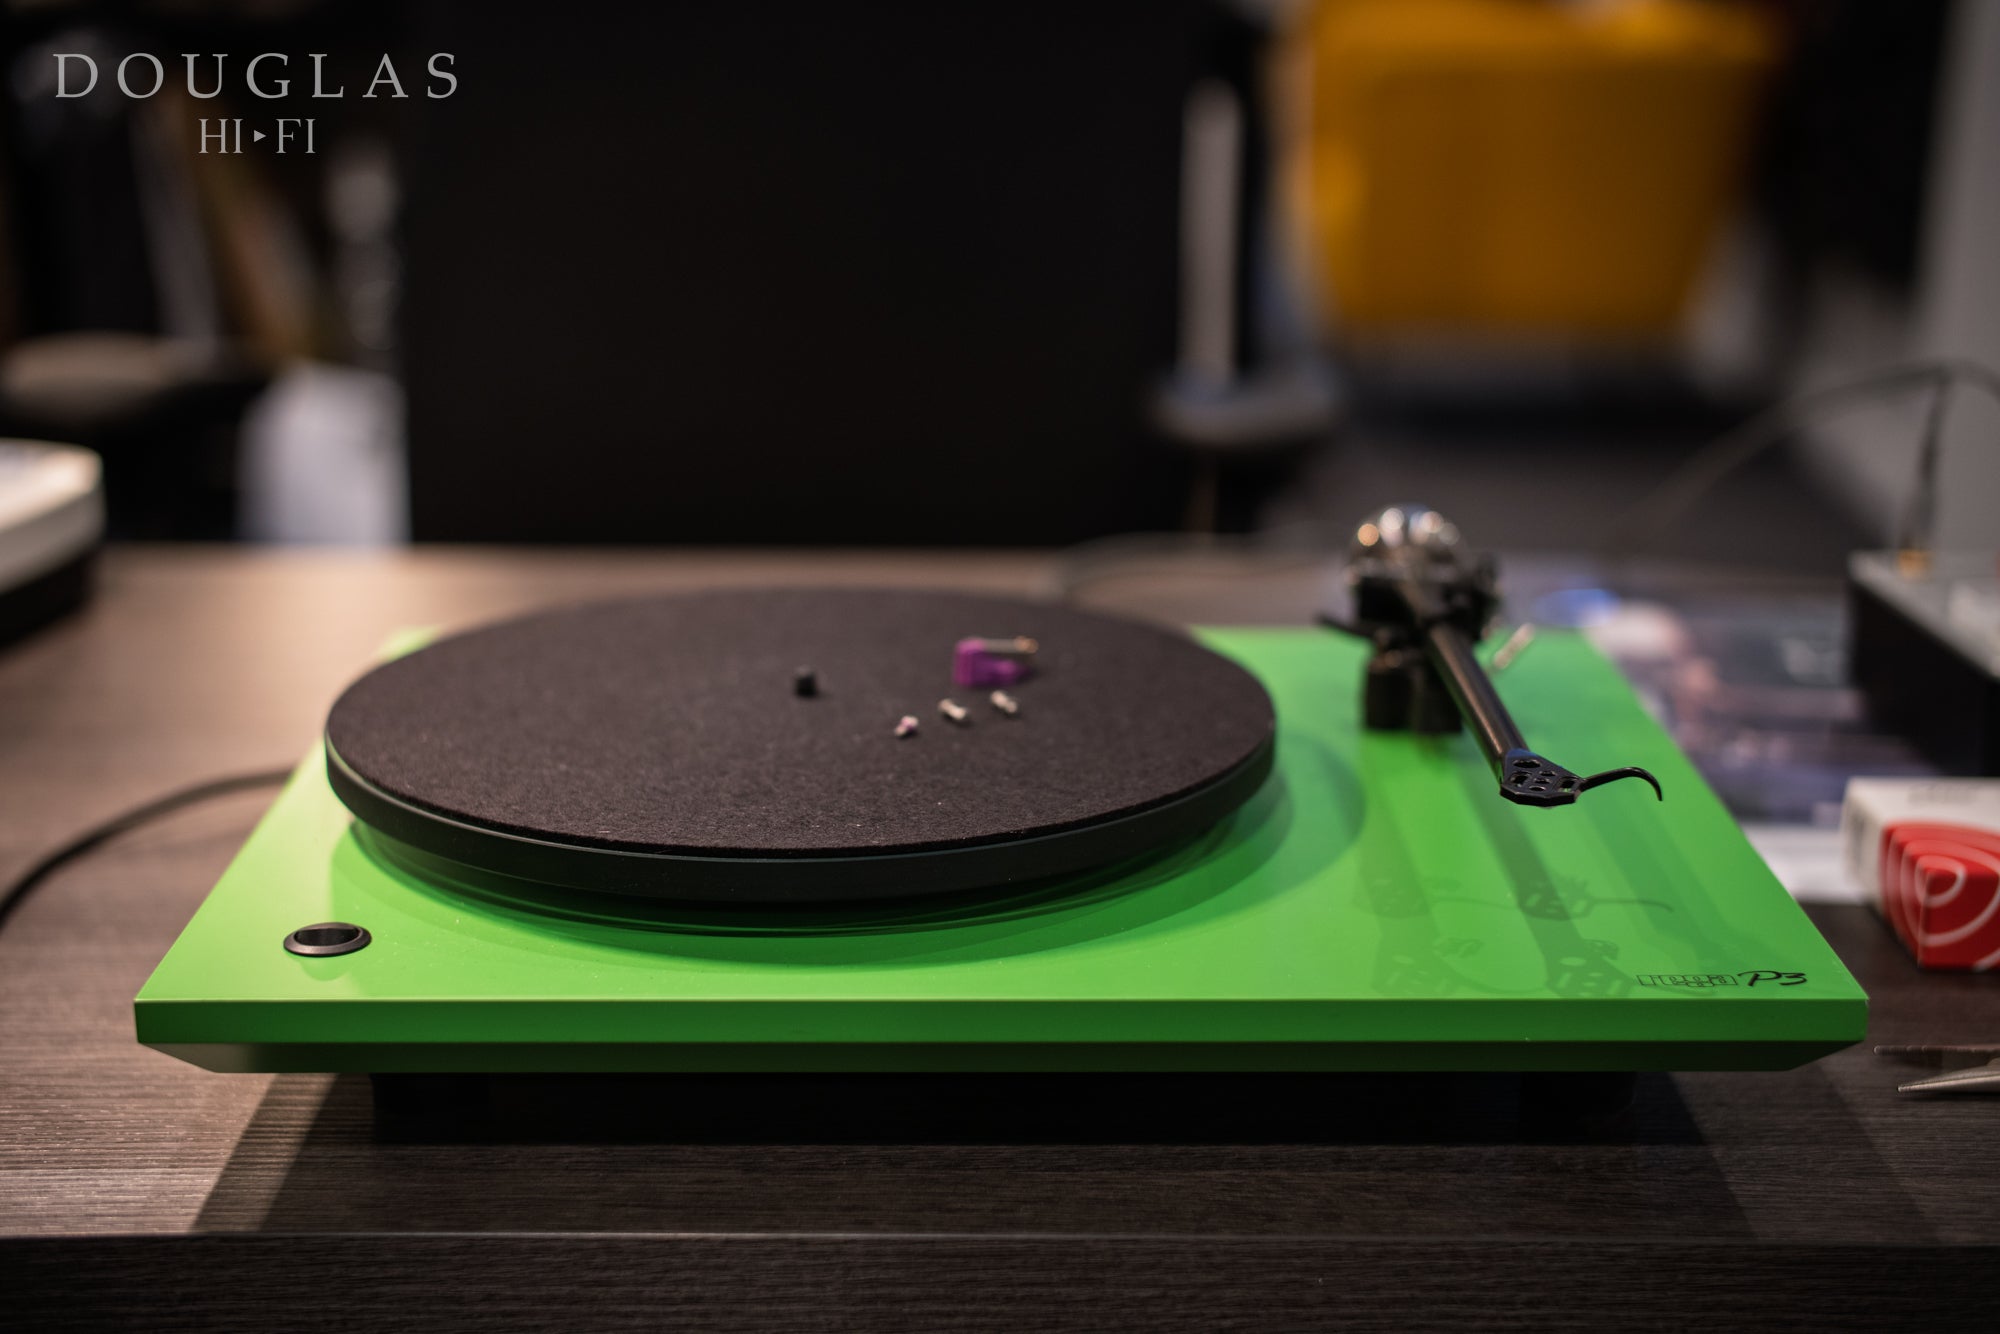
Last weekend we had a blast with a blast from the past - a Rega Planar 3 (in glorious green) in for a cartridge upgrade (Ortofon 2MR Bronze).
1. REMOVE OLD CARTRIDGE
Take care when removing from tonearm due to the delicate tonearm wires.
2. FIT NEW CARTRIDGE
Generally I put the cartridge as far forward in the headshell as possible - this gives me the most space to carefully reattach tonearm wires to the new cartridge.
3. BALANCE TONEARM
While the cartridge is not sitting in its final location at this stage, it’s important to balance the tonearm to the required settings to ensure that future setup steps minimise any undue pressure on cartridge suspension. In the case of the Ortofon 2MR Bronze being fitted - 1.5grams.
4. READJUST CARTRIDGE LOCATION (OVERHANG)
Using the excellent Dr. Feickert protractor (and personally choosing Lofgren alignment), we now re-adjust the location of the cartridge in the headshell relative to the crosshairs of the protractor. In this example we need to adjust by about 11mm. Usually at this time we will also check for VTA but as this is an unmoved Rega turntable and a Rega-specific Ortofon cartridge, this step isn’t necessary.
5. AZIMUTH/ZENITH/OVERHANG CHECK
Using a combination of test LPs, the Fozgometer (v2), as well as using our eyes and ears, we dial in cartridge alignment. It is important to ensure that the stylus is aligned to the groove of the record (NOT THE CARTRIDGE BODY!) as we should never assume that all stylii are nanometer-perfect, relative to the ideal location and orientation on the cantilever. As you can see in the photos, the Fozgometer shows us we are less than 0.5dB out on channel balance - pretty impressive considering Ortofon quote an average of 1dB! An audible test of channel balance (usually with headphones and a test record) begins which should backup the measurements.
6. FINAL CHECK AND TEST
Once we are happy with where the measurements tell us, it's time to check tracking force for the final time, followed by anti-skate verification and playback test. Usually I will leave one side of our test music album (Dire Straits - Brothers in Arms) playing all the way through Side A. Once I am happy with all of the above, a quick listen to some familiar music to confirm we are where we need to be.
And done!


Share: